m (→Core Exchange: typo) |
m (→Core Exchange: Formatting changes) |
||
| Line 152: | Line 152: | ||
|- |
|- |
||
! 2 |
! 2 |
||
| − | ! {{Item|[[File: |
+ | ! {{Item|[[File:EquipmentT4Box.png|75px]]|gold|khaki}} |
| T4 Eagle Tech Pack |
| T4 Eagle Tech Pack |
||
| style="text-align:right;" | 100 [[File:Core Data.png|35px]] |
| style="text-align:right;" | 100 [[File:Core Data.png|35px]] |
||
|- |
|- |
||
! 2 |
! 2 |
||
| − | ! {{Item|[[File: |
+ | ! {{Item|[[File:EquipmentT4Box.png|75px]]|gold|khaki}} |
| T4 Royal Tech Pack |
| T4 Royal Tech Pack |
||
| style="text-align:right;" | 100 [[File:Core Data.png|35px]] |
| style="text-align:right;" | 100 [[File:Core Data.png|35px]] |
||
|- |
|- |
||
! 2 |
! 2 |
||
| − | ! {{Item|[[File: |
+ | ! {{Item|[[File:EquipmentT4Box.png|75px]]|gold|khaki}} |
| T4 Sakura Tech Pack |
| T4 Sakura Tech Pack |
||
| style="text-align:right;" | 100 [[File:Core Data.png|35px]] |
| style="text-align:right;" | 100 [[File:Core Data.png|35px]] |
||
|- |
|- |
||
! 2 |
! 2 |
||
| − | ! {{Item|[[File: |
+ | ! {{Item|[[File:EquipmentT4Box.png|75px]]|gold|khaki}} |
| T4 Ironblood Tech Pack |
| T4 Ironblood Tech Pack |
||
| style="text-align:right;" | 100 [[File:Core Data.png|35px]] |
| style="text-align:right;" | 100 [[File:Core Data.png|35px]] |
||
|- |
|- |
||
! 5 |
! 5 |
||
| − | + | ! {{Item|[[File:EquipmentT3Box.png|75px]]|mediumpurple|plum}} |
|
| T3 Eagle Tech Pack |
| T3 Eagle Tech Pack |
||
| style="text-align:right;" | 25 [[File:Core Data.png|35px]] |
| style="text-align:right;" | 25 [[File:Core Data.png|35px]] |
||
|- |
|- |
||
! 5 |
! 5 |
||
| − | + | ! {{Item|[[File:EquipmentT3Box.png|75px]]|mediumpurple|plum}} |
|
| T3 Royal Tech Pack |
| T3 Royal Tech Pack |
||
| style="text-align:right;" | 25 [[File:Core Data.png|35px]] |
| style="text-align:right;" | 25 [[File:Core Data.png|35px]] |
||
|- |
|- |
||
! 5 |
! 5 |
||
| − | + | ! {{Item|[[File:EquipmentT3Box.png|75px]]|mediumpurple|plum}} |
|
| T3 Sakura Tech Pack |
| T3 Sakura Tech Pack |
||
| style="text-align:right;" | 25 [[File:Core Data.png|35px]] |
| style="text-align:right;" | 25 [[File:Core Data.png|35px]] |
||
|- |
|- |
||
! 5 |
! 5 |
||
| − | + | ! {{Item|[[File:EquipmentT3Box.png|75px]]|mediumpurple|plum}} |
|
| T3 Ironblood Tech Pack |
| T3 Ironblood Tech Pack |
||
| style="text-align:right;" | 25 [[File:Core Data.png|35px]] |
| style="text-align:right;" | 25 [[File:Core Data.png|35px]] |
||
|- |
|- |
||
! 1 |
! 1 |
||
| − | + | ! {{Item|[[File:33060.png|75px]]|gold|khaki}} |
|
| Prototype Twin 203mm (Type 3) Mounted Gun |
| Prototype Twin 203mm (Type 3) Mounted Gun |
||
| style="text-align:right;" | 800 [[File:Core Data.png|35px]] |
| style="text-align:right;" | 800 [[File:Core Data.png|35px]] |
||
|- |
|- |
||
! 1 |
! 1 |
||
| − | + | ! {{Item|[[File:17400.png|75px]]|mediumpurple|plum}} |
|
| XF5F Skyrocket |
| XF5F Skyrocket |
||
| style="text-align:right;" | 800 [[File:Core Data.png|35px]] |
| style="text-align:right;" | 800 [[File:Core Data.png|35px]] |
||
Revision as of 16:22, 1 June 2019
Academy Buildings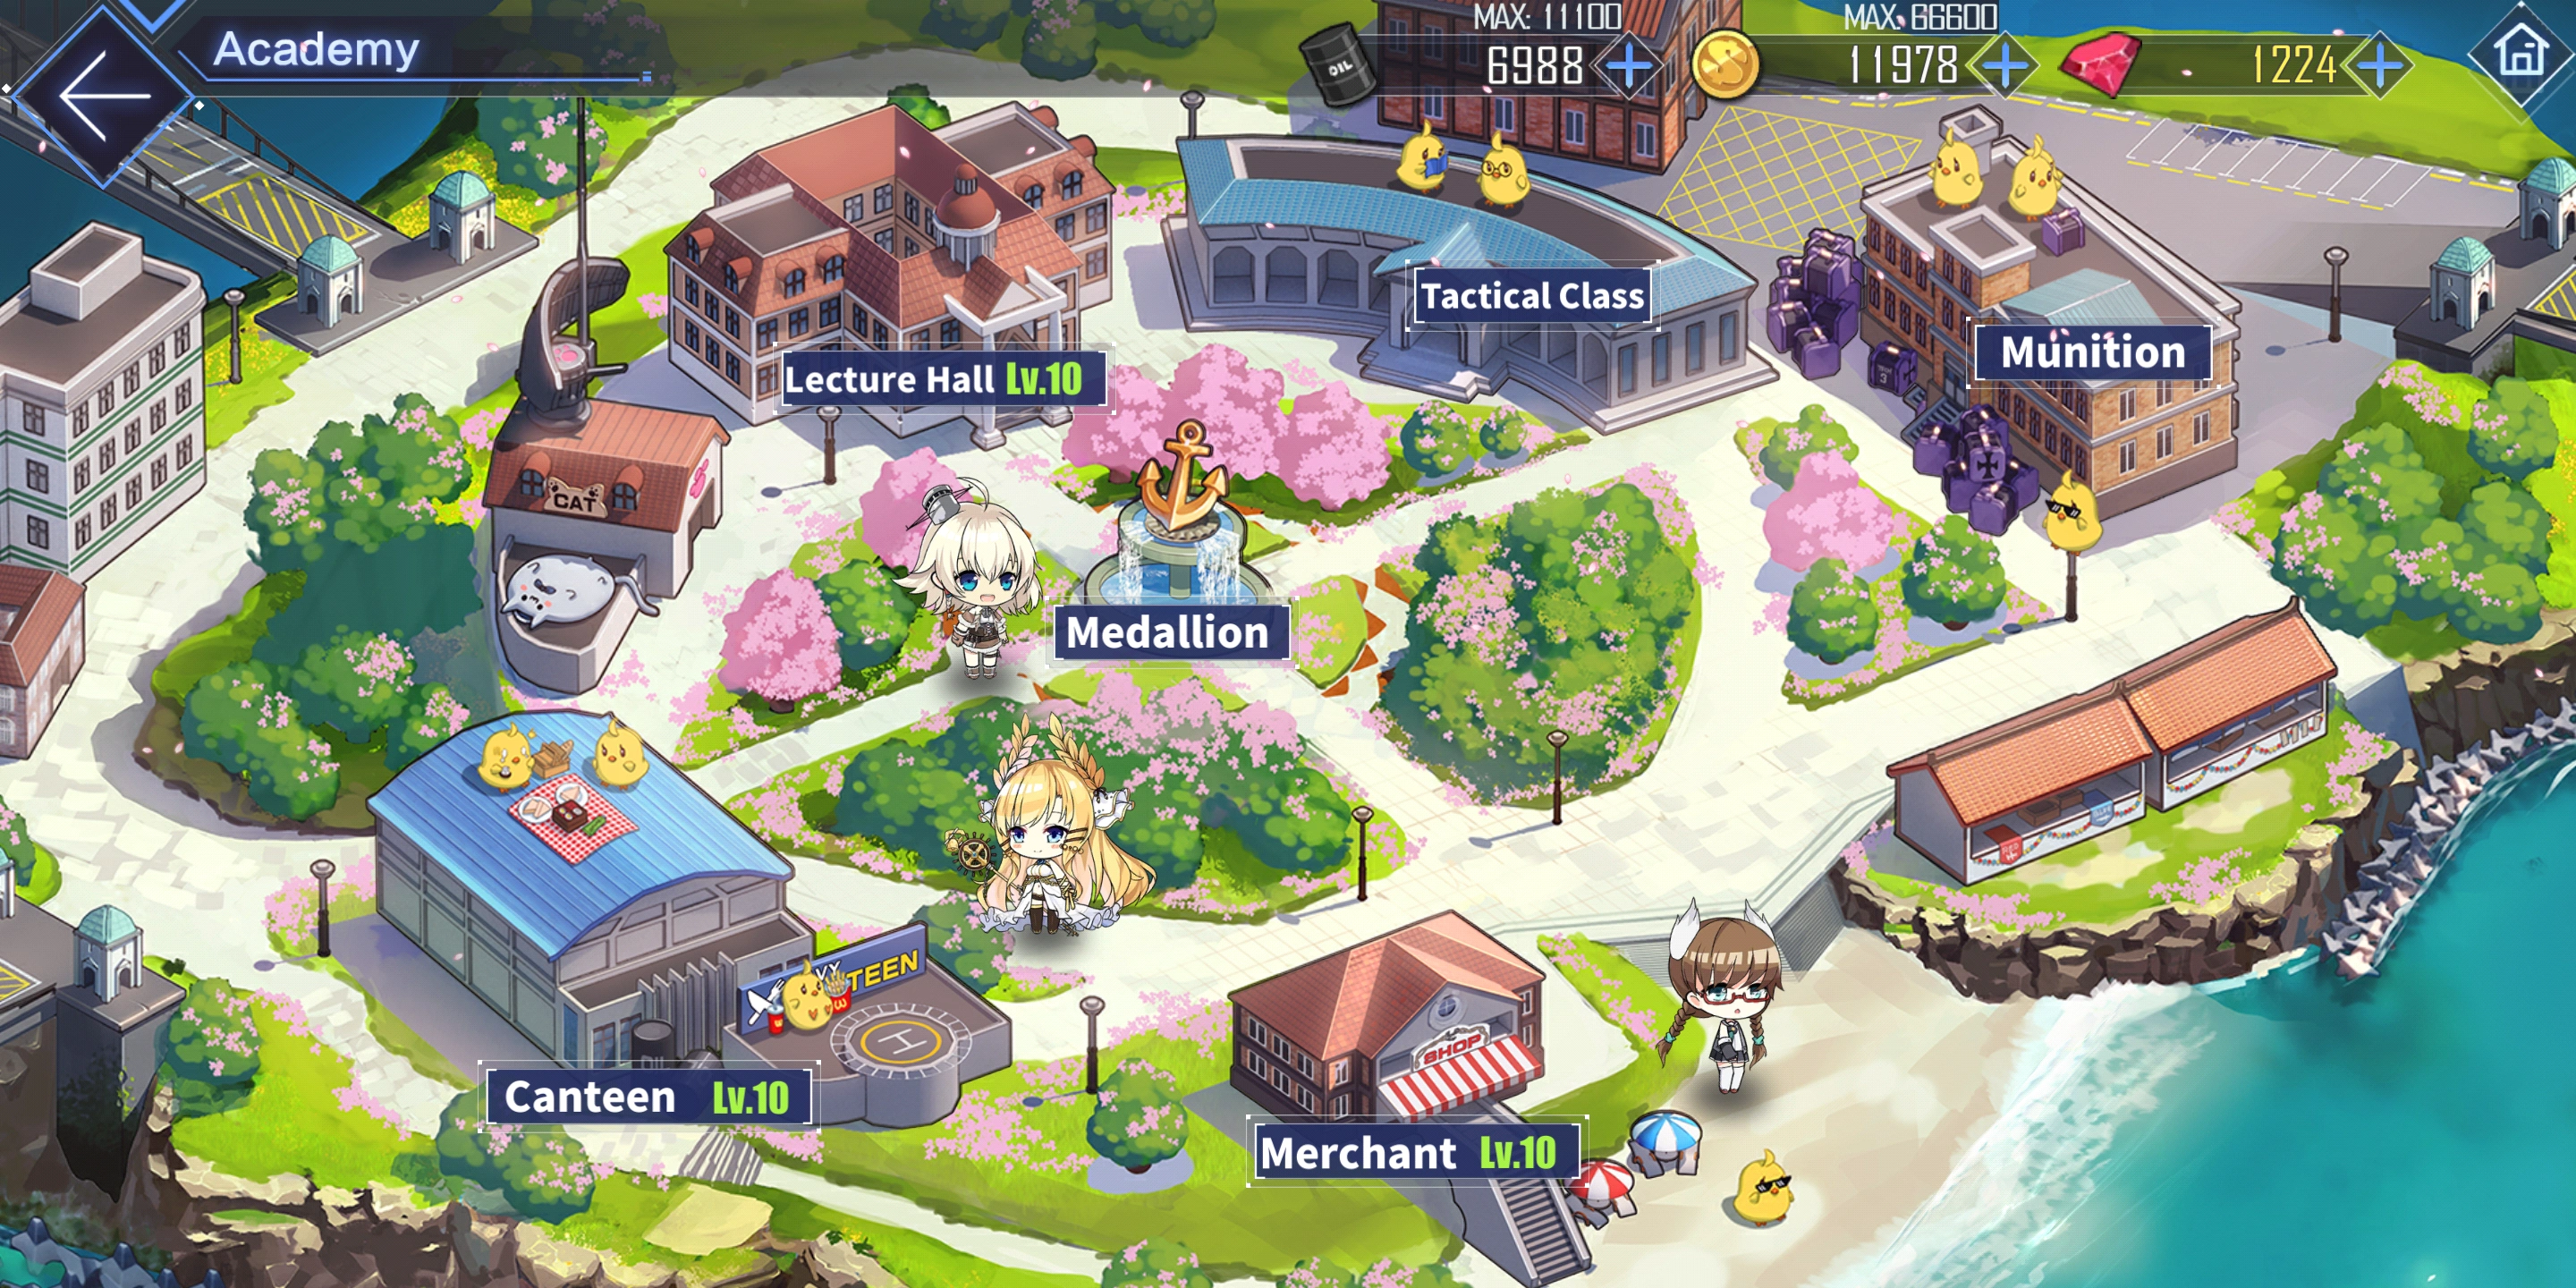 The Academy has five functioning buildings, clockwise from the top.
|
Lecture Hall
The Lecture Hall is a building that enables up to five ships to gain exp similar to the Dorm but with several differences:
- The Lecture Hall stores a percent of the exp level 100 ships receive;
- This stored exp is given to ships in the Lecture Hall; and
- Each lecture lasts 12 hours but can be stopped manually, exp will be given in proportion to the duration of the lecture.
Additionally, there are several restrictions for the Lecture Hall:
- Ships in the Dorm or #Tactical Classroom cannot be placed in the Lecture Hall;
- The Lecture Hall does not store EXP from exercises;
- Ships in the Lecture Hall will slowly lose Morale, ships with low morale cannot be placed in the Lecture Hall; and
- Depending on the day of the week, only specific ships types can participate in the Lecture Hall:
| Day | Type | Notes |
|---|---|---|
| Monday | ||
| Tuesday | ||
| Wednesday | ||
| Thursday | ||
| Friday | ||
| Saturday | ||
| Sunday | None | Lecture Hall closed but exp is stored at 2x the normal rate |
Tactical Classroom
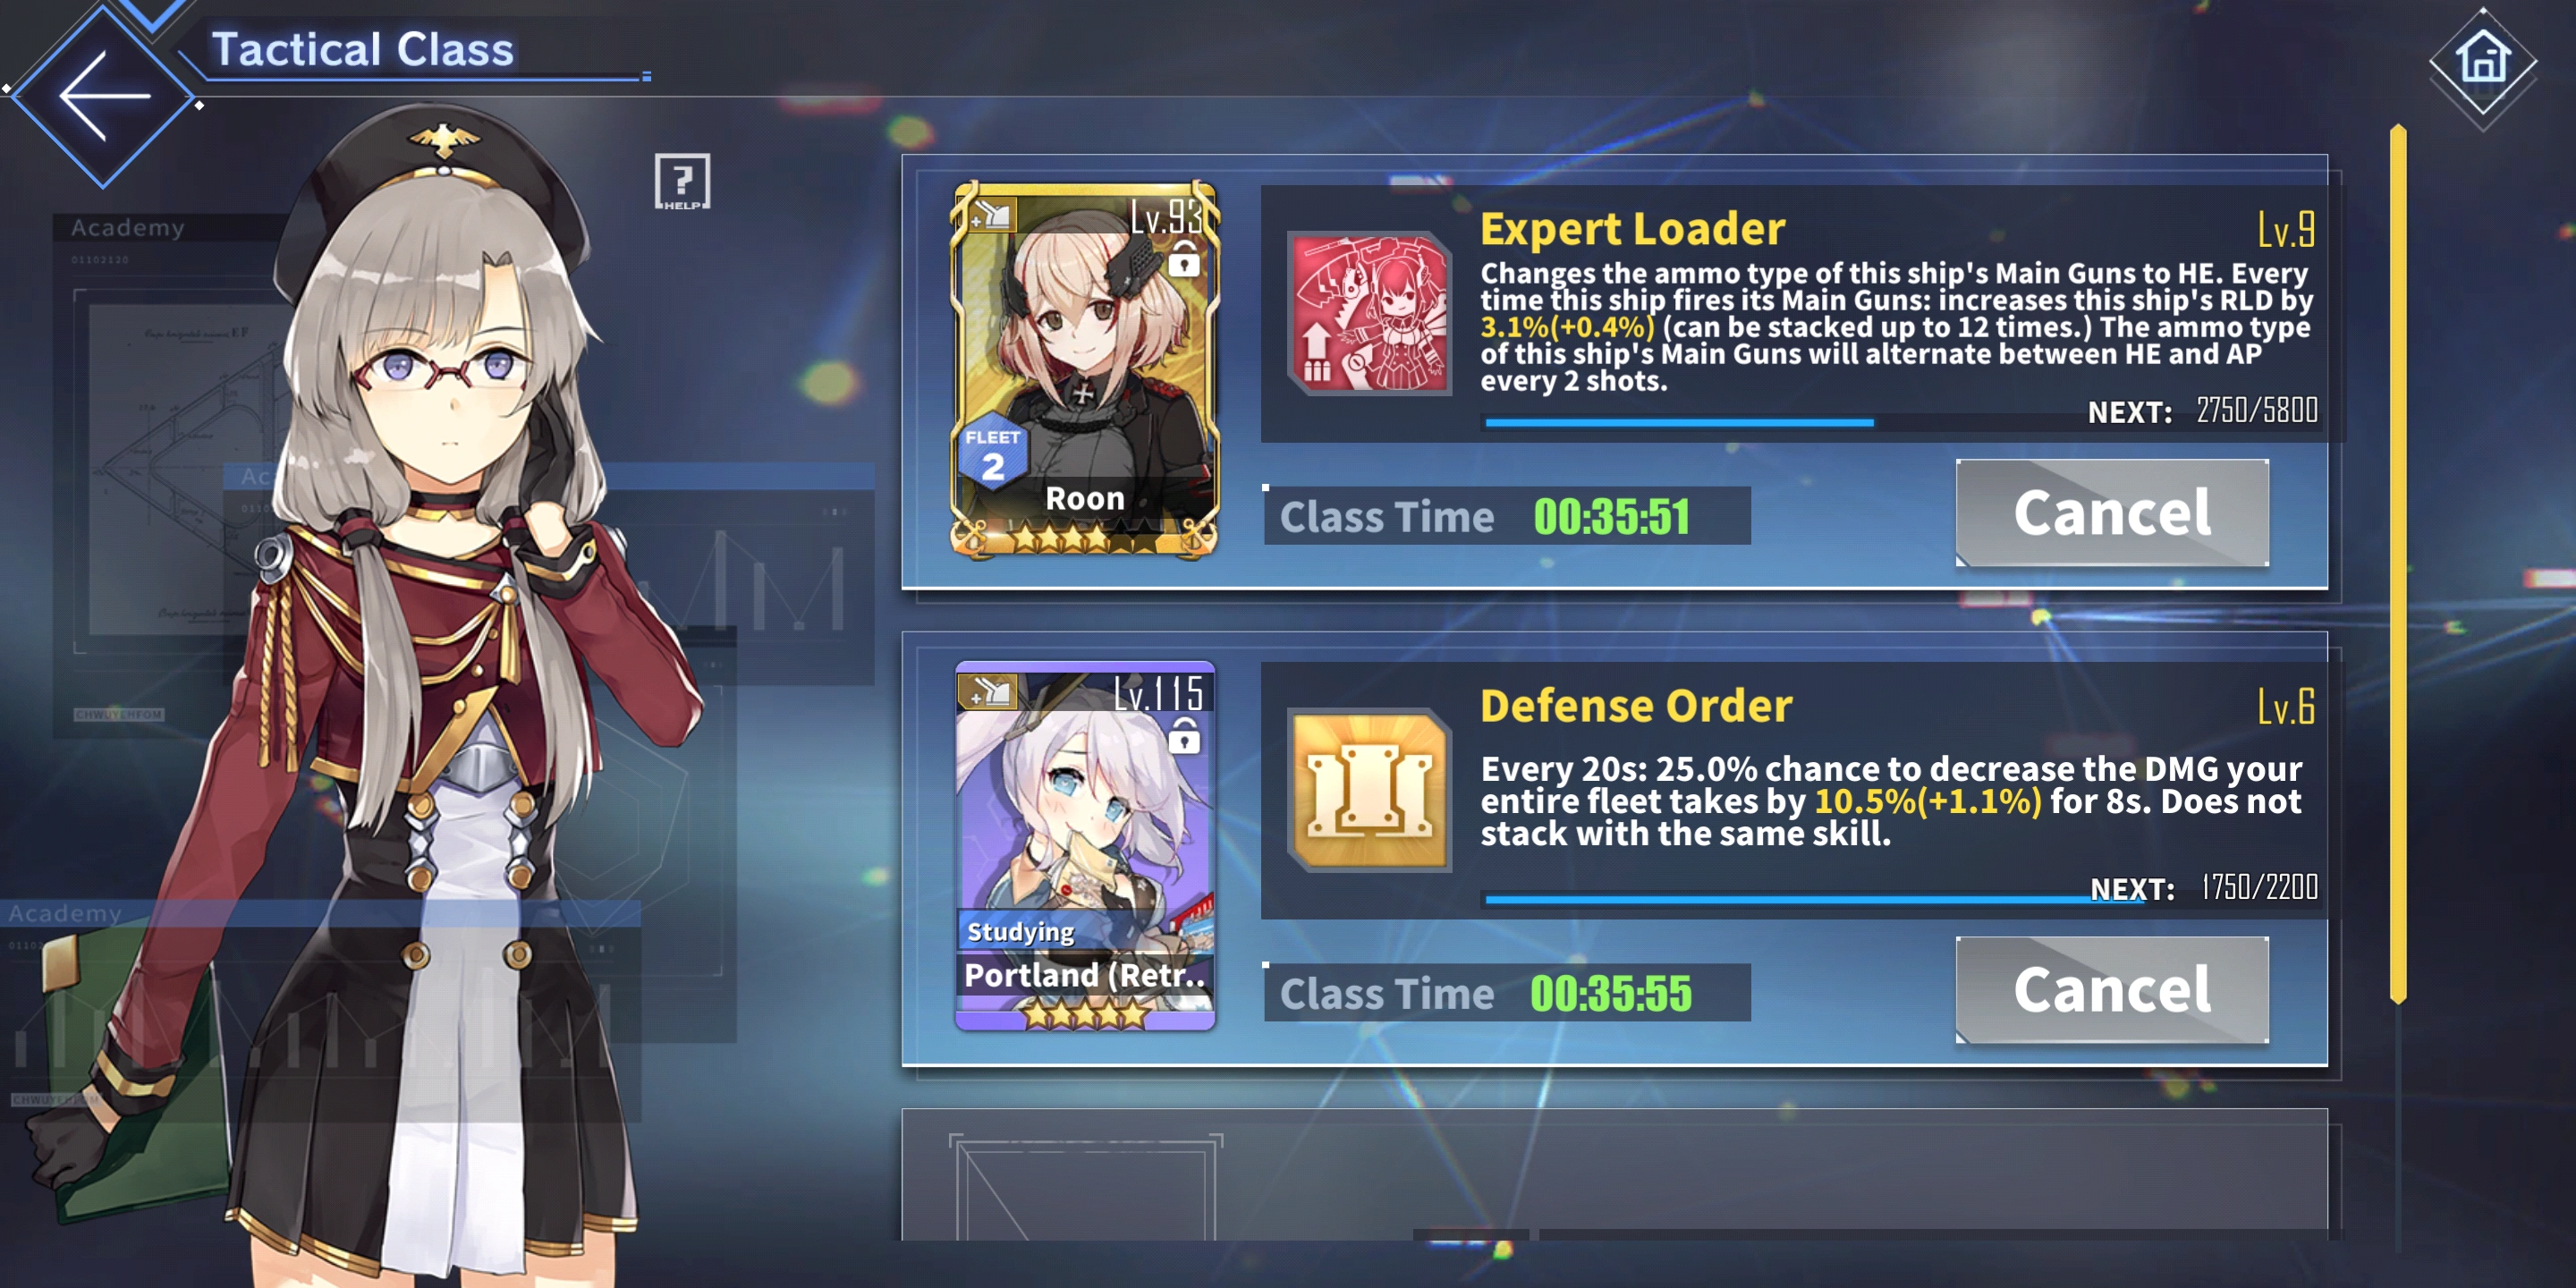

The Tactical Classroom is where you can train one of a ship girl's skills in exchange for consuming a skill book.
There are three types of skill books and three tiers of each. Using a skill book of the same type as the skill gives a bonus 50% toward training.
The types are as follows
  |
  |
  |
Each tier gives a different amount of exp
| Icon | EXP | Same Type EXP |
Time required |
|---|---|---|---|
|
100 | 150 | 2 hours |
 |
300 | 450 | 4 Hours |
 |
800 | 1200 | 8 Hours |
Supply Shop

The Supply Shop sells specific items for ![]() and
and ![]() . The shop resets every 6 hours with a selection of 10 items that may have reduced sale price. Both the selection of items and chance of sales is randomly generated. Once purchased the item is grayed out until the shop resets.
. The shop resets every 6 hours with a selection of 10 items that may have reduced sale price. Both the selection of items and chance of sales is randomly generated. Once purchased the item is grayed out until the shop resets.
The Supply Shop contains two tabs: the Guild Shop and the Munitions Shop.
Guild Shop
The Guild Shop contains the following items:
- Gear Skin Box that contains skins to use on ship weapons or aircraft, sold for
 .
. - Tier 1, 2, 3, and 4 equipment boxes of all types sold individually or as a bundle of five, sold for or .
- Tier 1, 2, and 3 skill books of all types, sold for or .
- Quick Finisher construction drills and Wisdom Cubes may also appear.
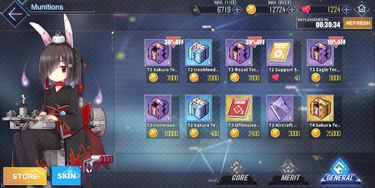
Munitions Shop
The Munitions Shop sells a variety of items that can be purchased with ![]() acquired by participating in pvp Exercises. The items sold include:
acquired by participating in pvp Exercises. The items sold include:
- South Dakota
- Eldridge
- Tier 1, 2, 3, and 4 equipment boxes of all types sold individually or as a bundle of five
- Universal Bulin
- Prototype Bulin MKII
Core Exchange
The Core Exchange includes a specific list of items that can only be purchased with Core Data ![]() . Core Data can be earned from completing Hard Mode stages.
. Core Data can be earned from completing Hard Mode stages.
The list of items sold in the Core Shop refresh monthly and players will be given advanced warning when items leave the shop. The items currently available are:
| Purchase Limit | Image | Name | Price |
|---|---|---|---|
| 1 | 
|
Type 93 Pure Oxygen Torpedo | 1500 |
| 1 | 
|
Twin 381mm Advanced Main Gun | 800 |
| 1 | 
|
T5 Eagle Tech Pack | 500 |
| 1 |
|
T5 Royal Tech Pack | 500 |
| 1 |
|
T5 Sakura Tech Pack | 500 |
| 1 |
|
T5 Ironblood Tech Pack | 500 |
| 2 | 
|
T4 Eagle Tech Pack | 100 |
| 2 |
|
T4 Royal Tech Pack | 100 |
| 2 |
|
T4 Sakura Tech Pack | 100 |
| 2 |
|
T4 Ironblood Tech Pack | 100 |
| 5 | 
|
T3 Eagle Tech Pack | 25 |
| 5 |
|
T3 Royal Tech Pack | 25 |
| 5 |
|
T3 Sakura Tech Pack | 25 |
| 5 |
|
T3 Ironblood Tech Pack | 25 |
| 1 | 
|
Prototype Twin 203mm (Type 3) Mounted Gun | 800 |
| 1 | 
|
XF5F Skyrocket | 800 |
Canteen and Merchant
The Canteen and Merchant are two similar buildings that generate Oil and Gold over time respectively. As you reach certain levels you can pay to increase the shops level to boost it's income and storage cap.
| Canteen | Level | ||||||||
|---|---|---|---|---|---|---|---|---|---|
| 1 | 2 | 3 | 4 | 5 | 6 | 7 | 8 | 9 | |
| Canteen oil generation | 60/h | 63/h | 66/h | 69/h | 72/h | 75/h | 78/h | 81/h | |
| Canteen storage cap | 300 | 600 | 900 | 1200 | 1500 | 1800 | 2100 | 2400 | |
| Fill up time | 5h | 9.5h | 13.6h | 17.4h | 20.8h | 24h | 26.9h | 29.6h | |
| Merchant | |||||||||
| Merchant gold generation | 180/h | 192/h | 204/h | 216/h | 228/h | 240/h | 252/h | 264/h | |
| Merchant storage cap | 900 | 1800 | 2800 | 3800 | 4800 | 5800 | 6800 | 7900 | |
| Fill up time | 5h | 9.4h | 13.7h | 17.6h | 21h | 24.1h | 27h | 29.9h | |
| Cost to upgrade* | 60 | 300 | 600 | 1500 | 3000 | 4500 | 6000 | ||
- Upgrade cost is the same for both buildings.